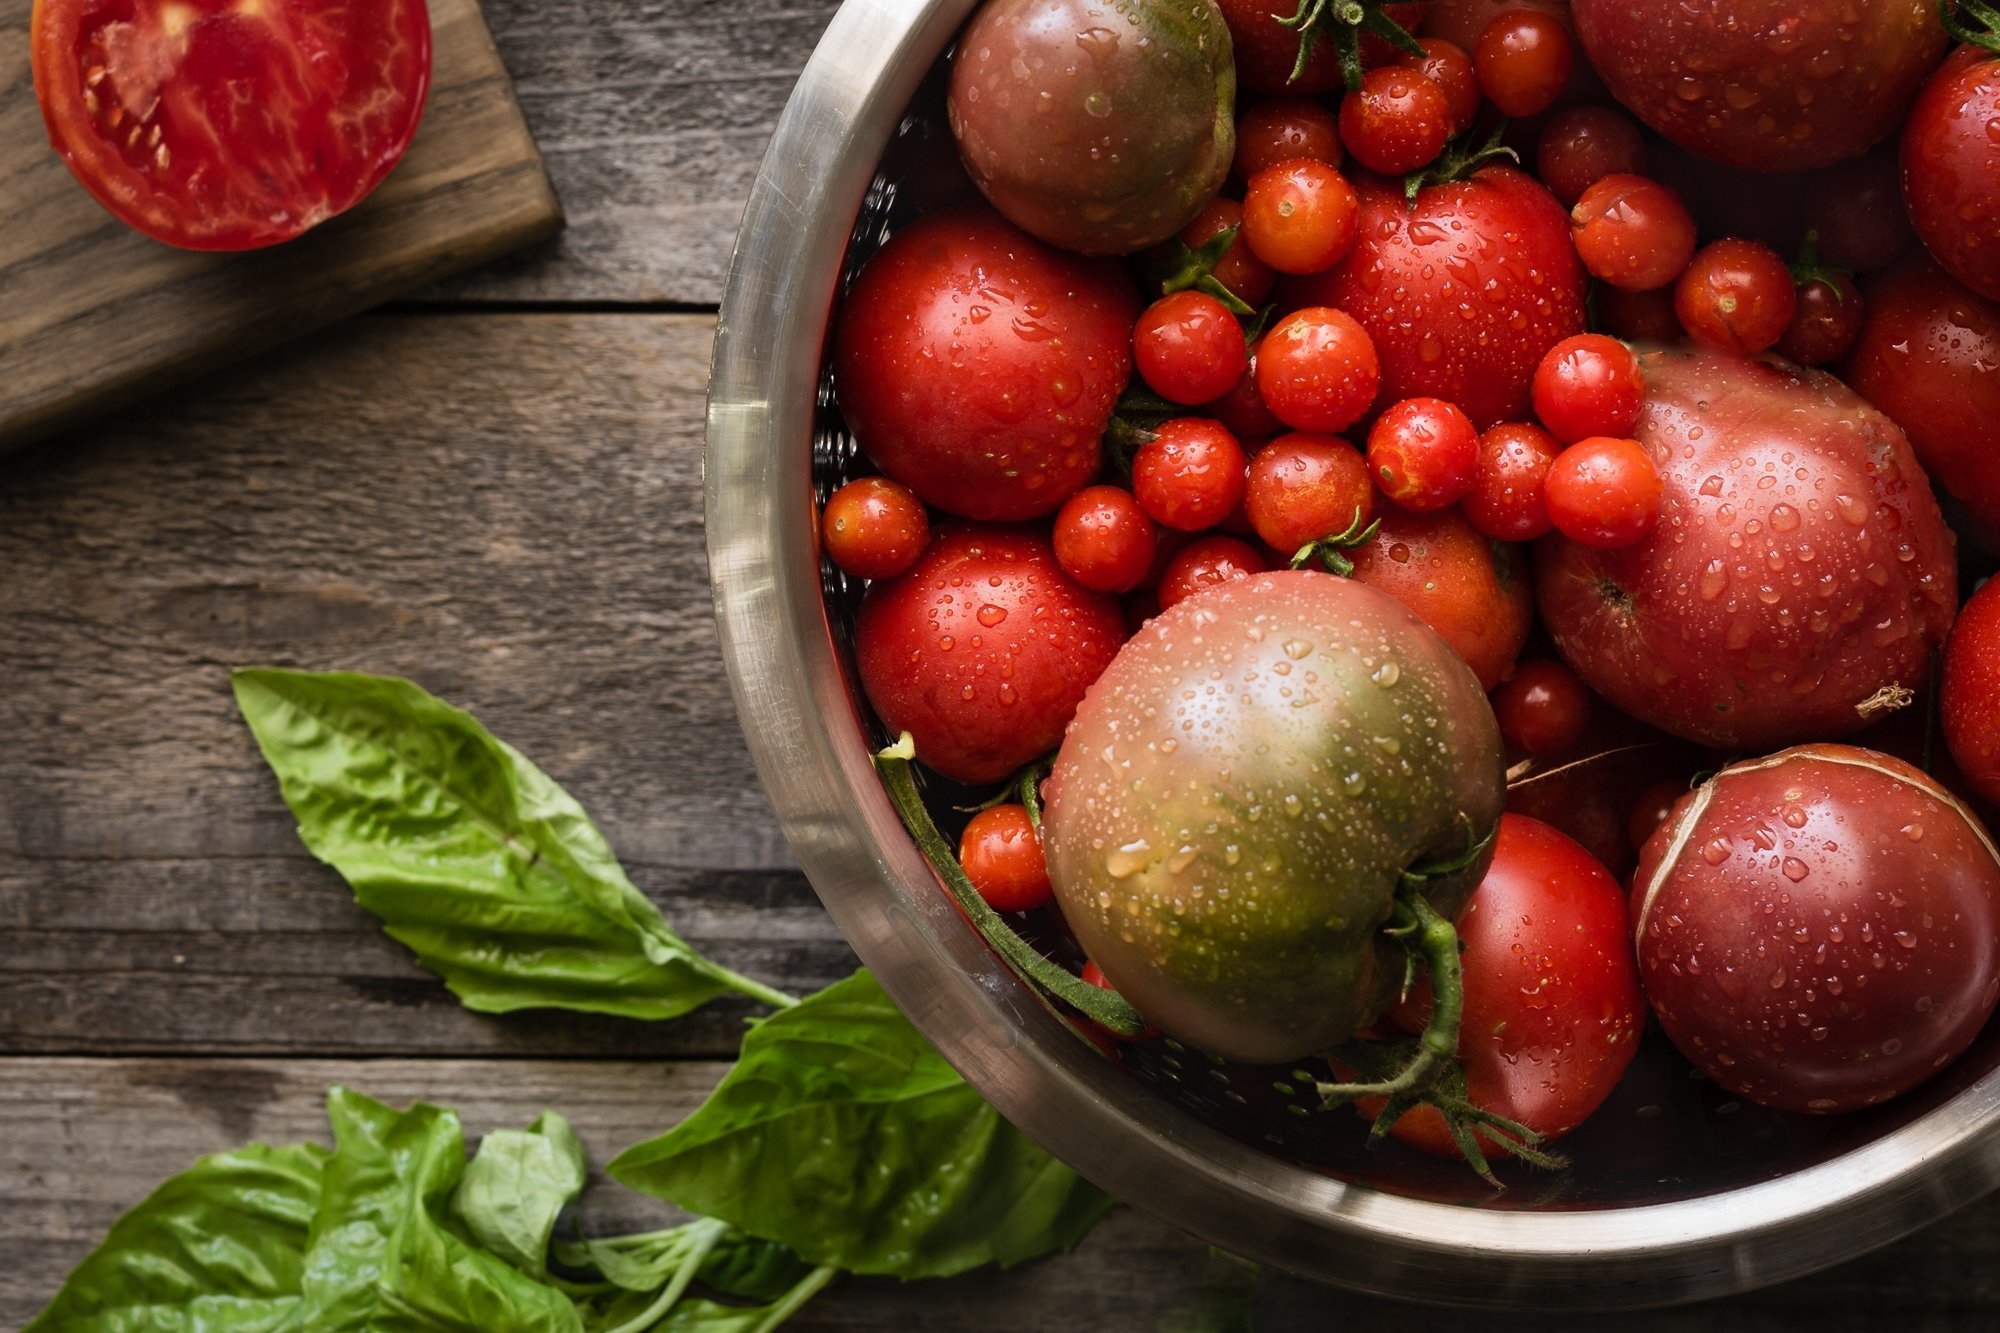
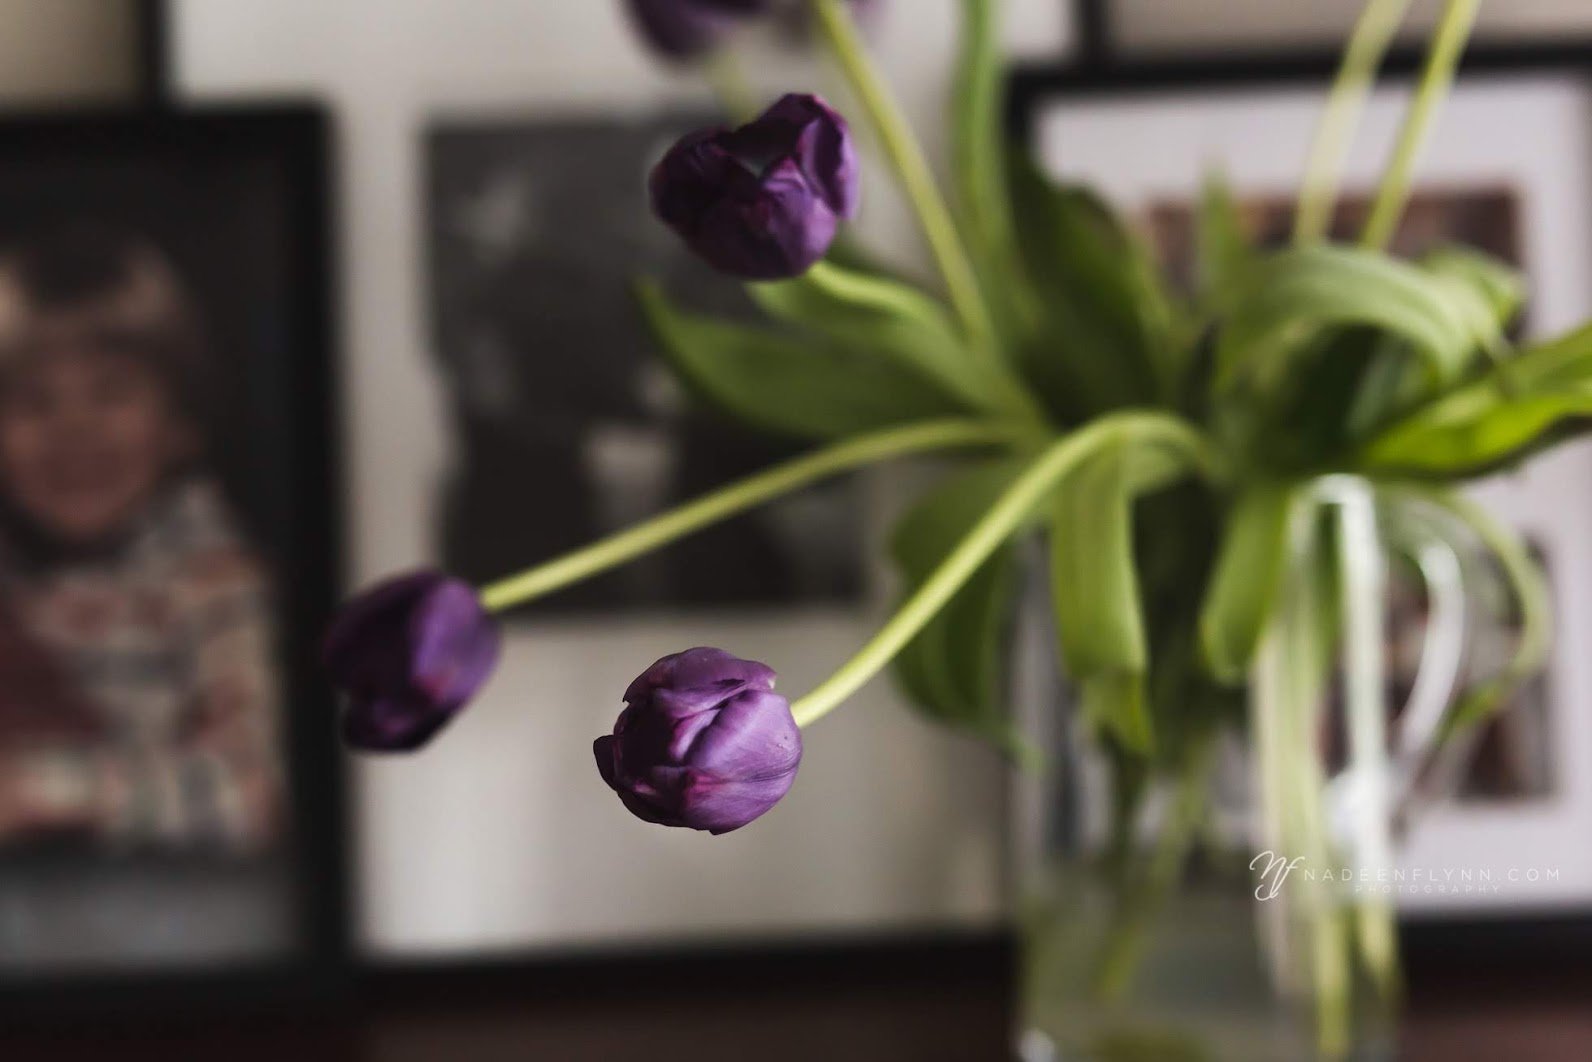
Using the Calibration Panel in Lightroom
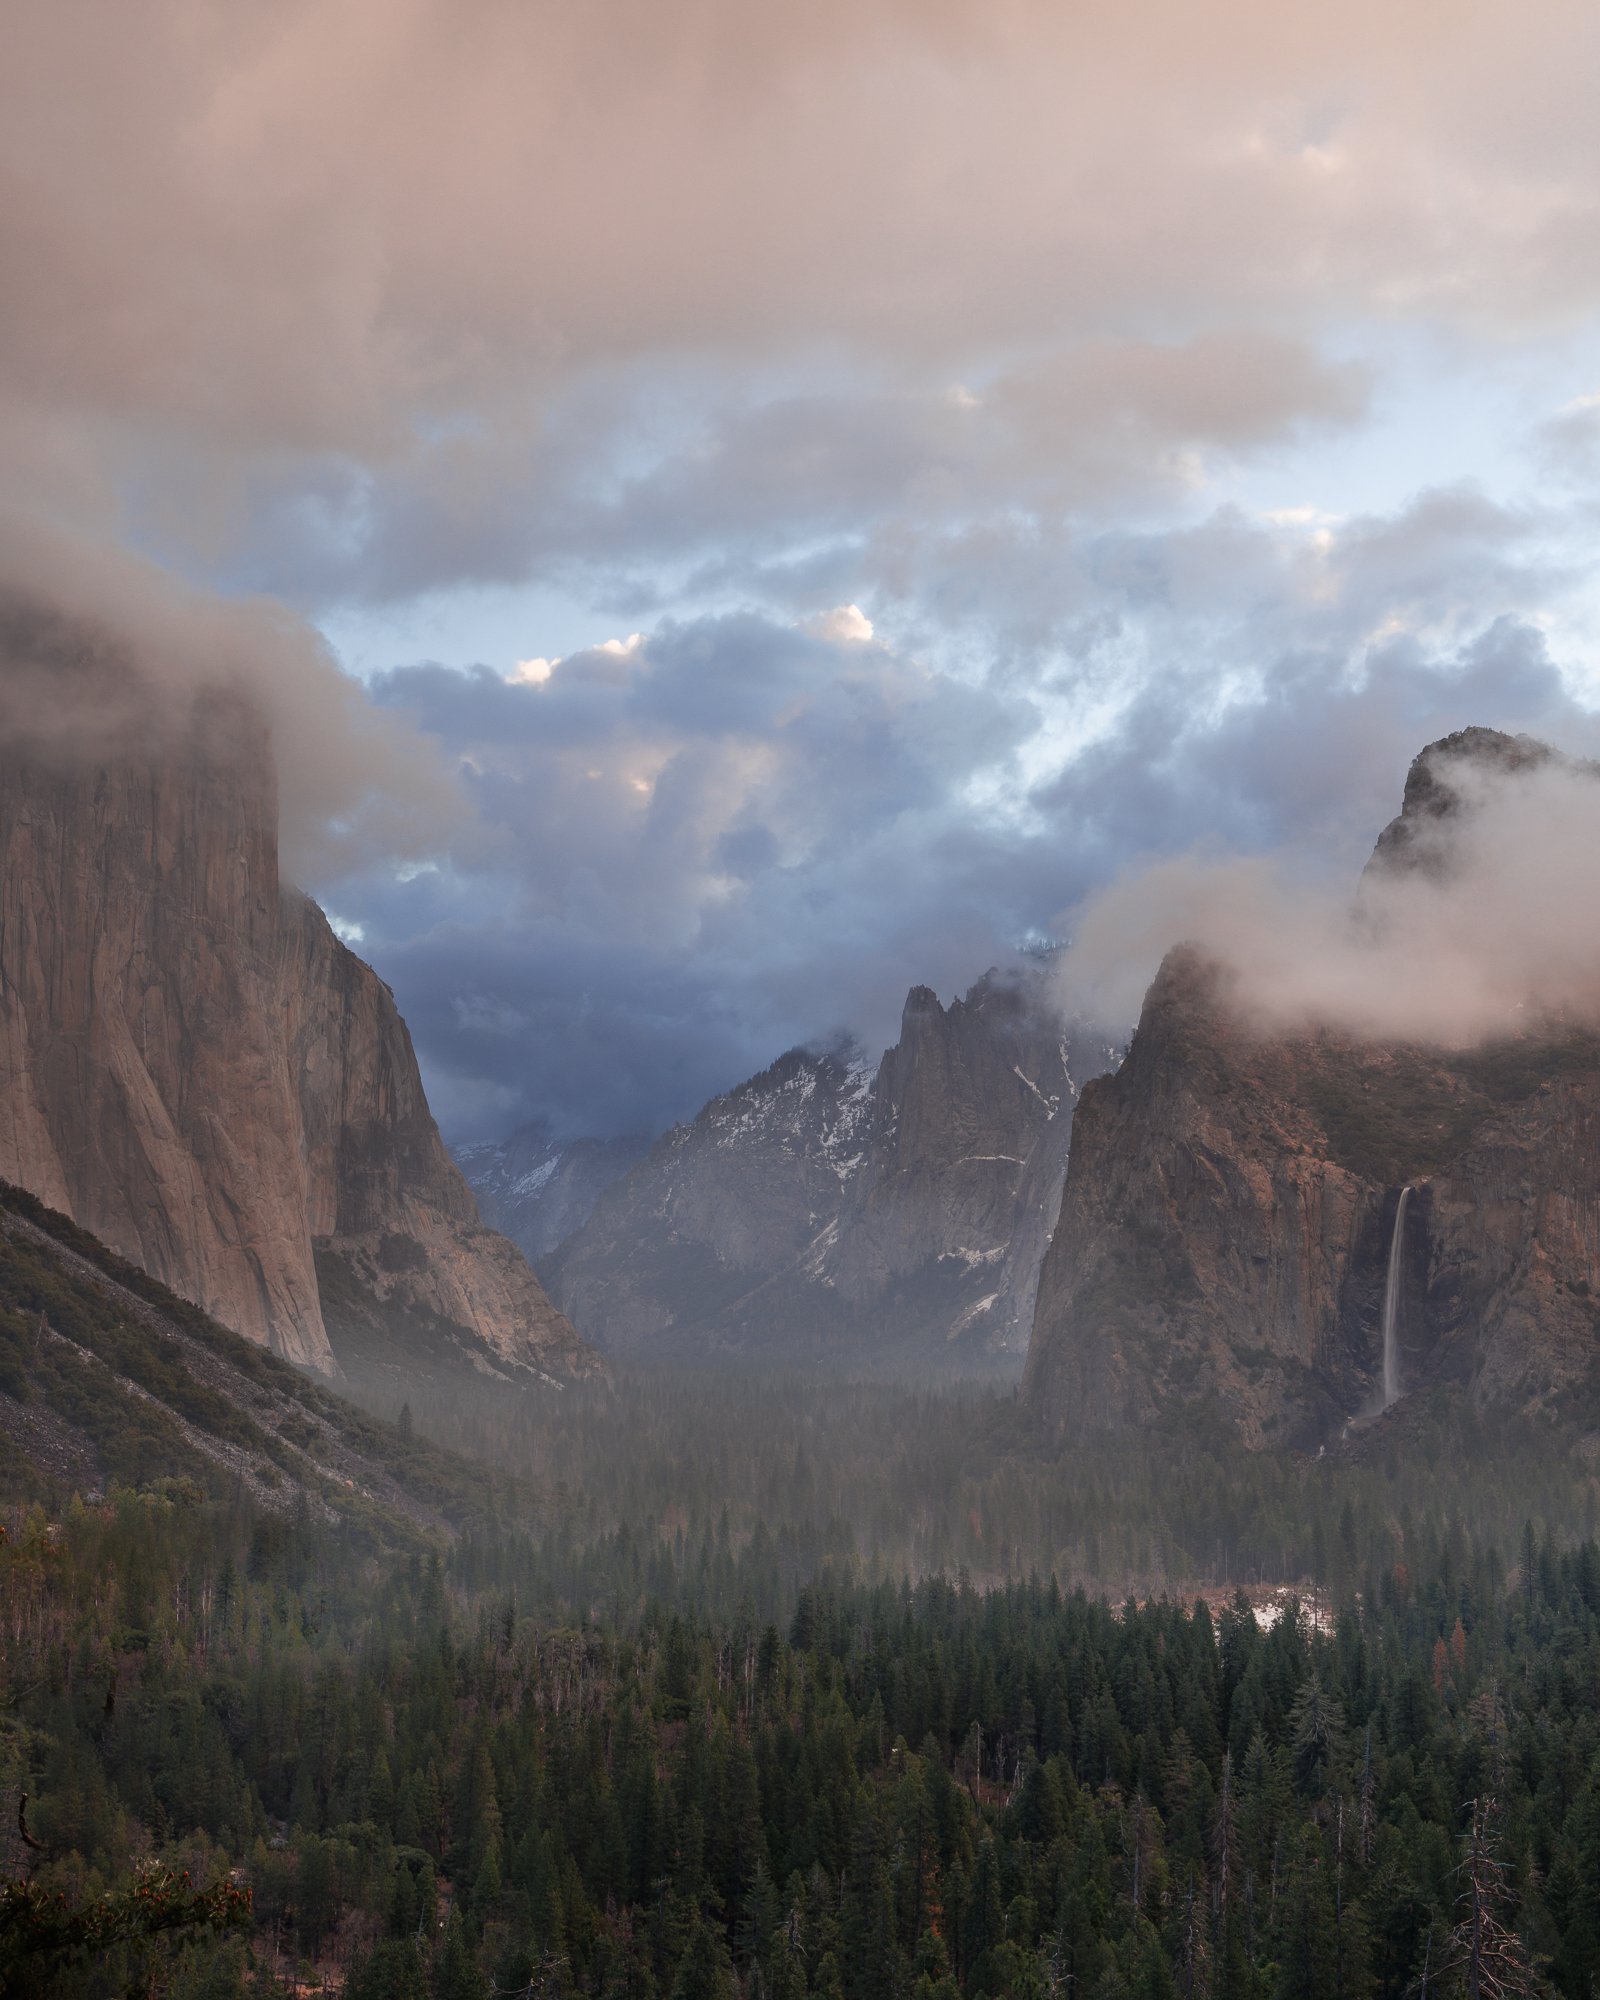
One of the things I love about photography is that there is always something new to learn! Whether it is a new-to-me function on my camera or a processing technique I’ve not yet used, it’s an ongoing process of learning something new. Most recently, I’ve started learning and using the calibration panel in Lightroom.
Color
There are a number of ways to adjust the colors of a RAW image, but the calibration panel in Lightroom just seems to help make the colors richer. It’s an adjustment that addresses the entire image, a global adjustment. It’s where I like to begin my editing process after I have the white balance and exposure adjusted if necessary.
Brief Overview
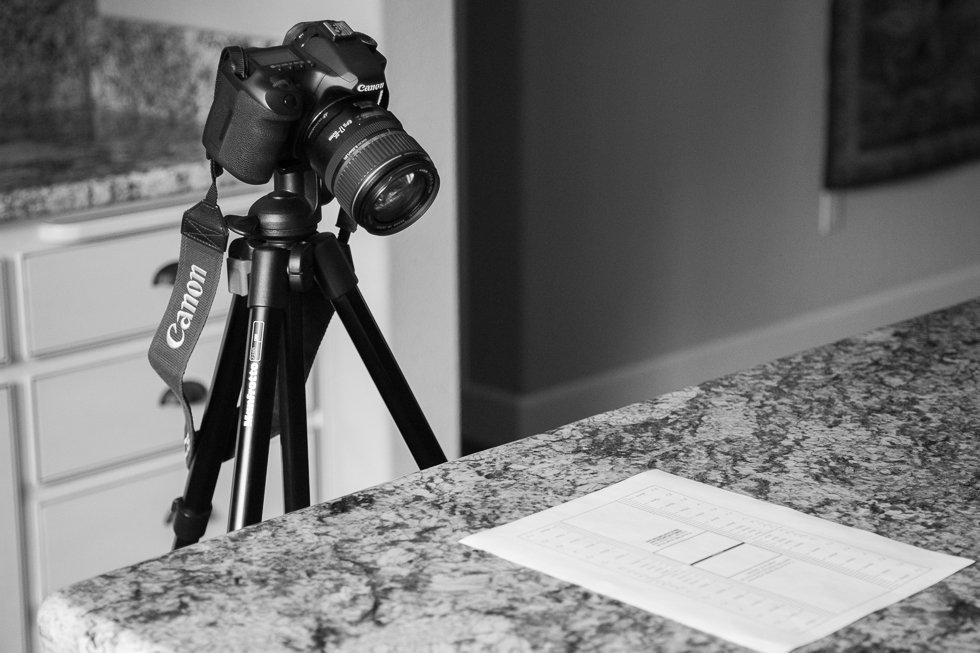
In the following video, I provide a brief explanation and demonstration of the function of the calibration panel. I hope that you will explore this panel with your own work and see if you like the difference it makes in the management of color.
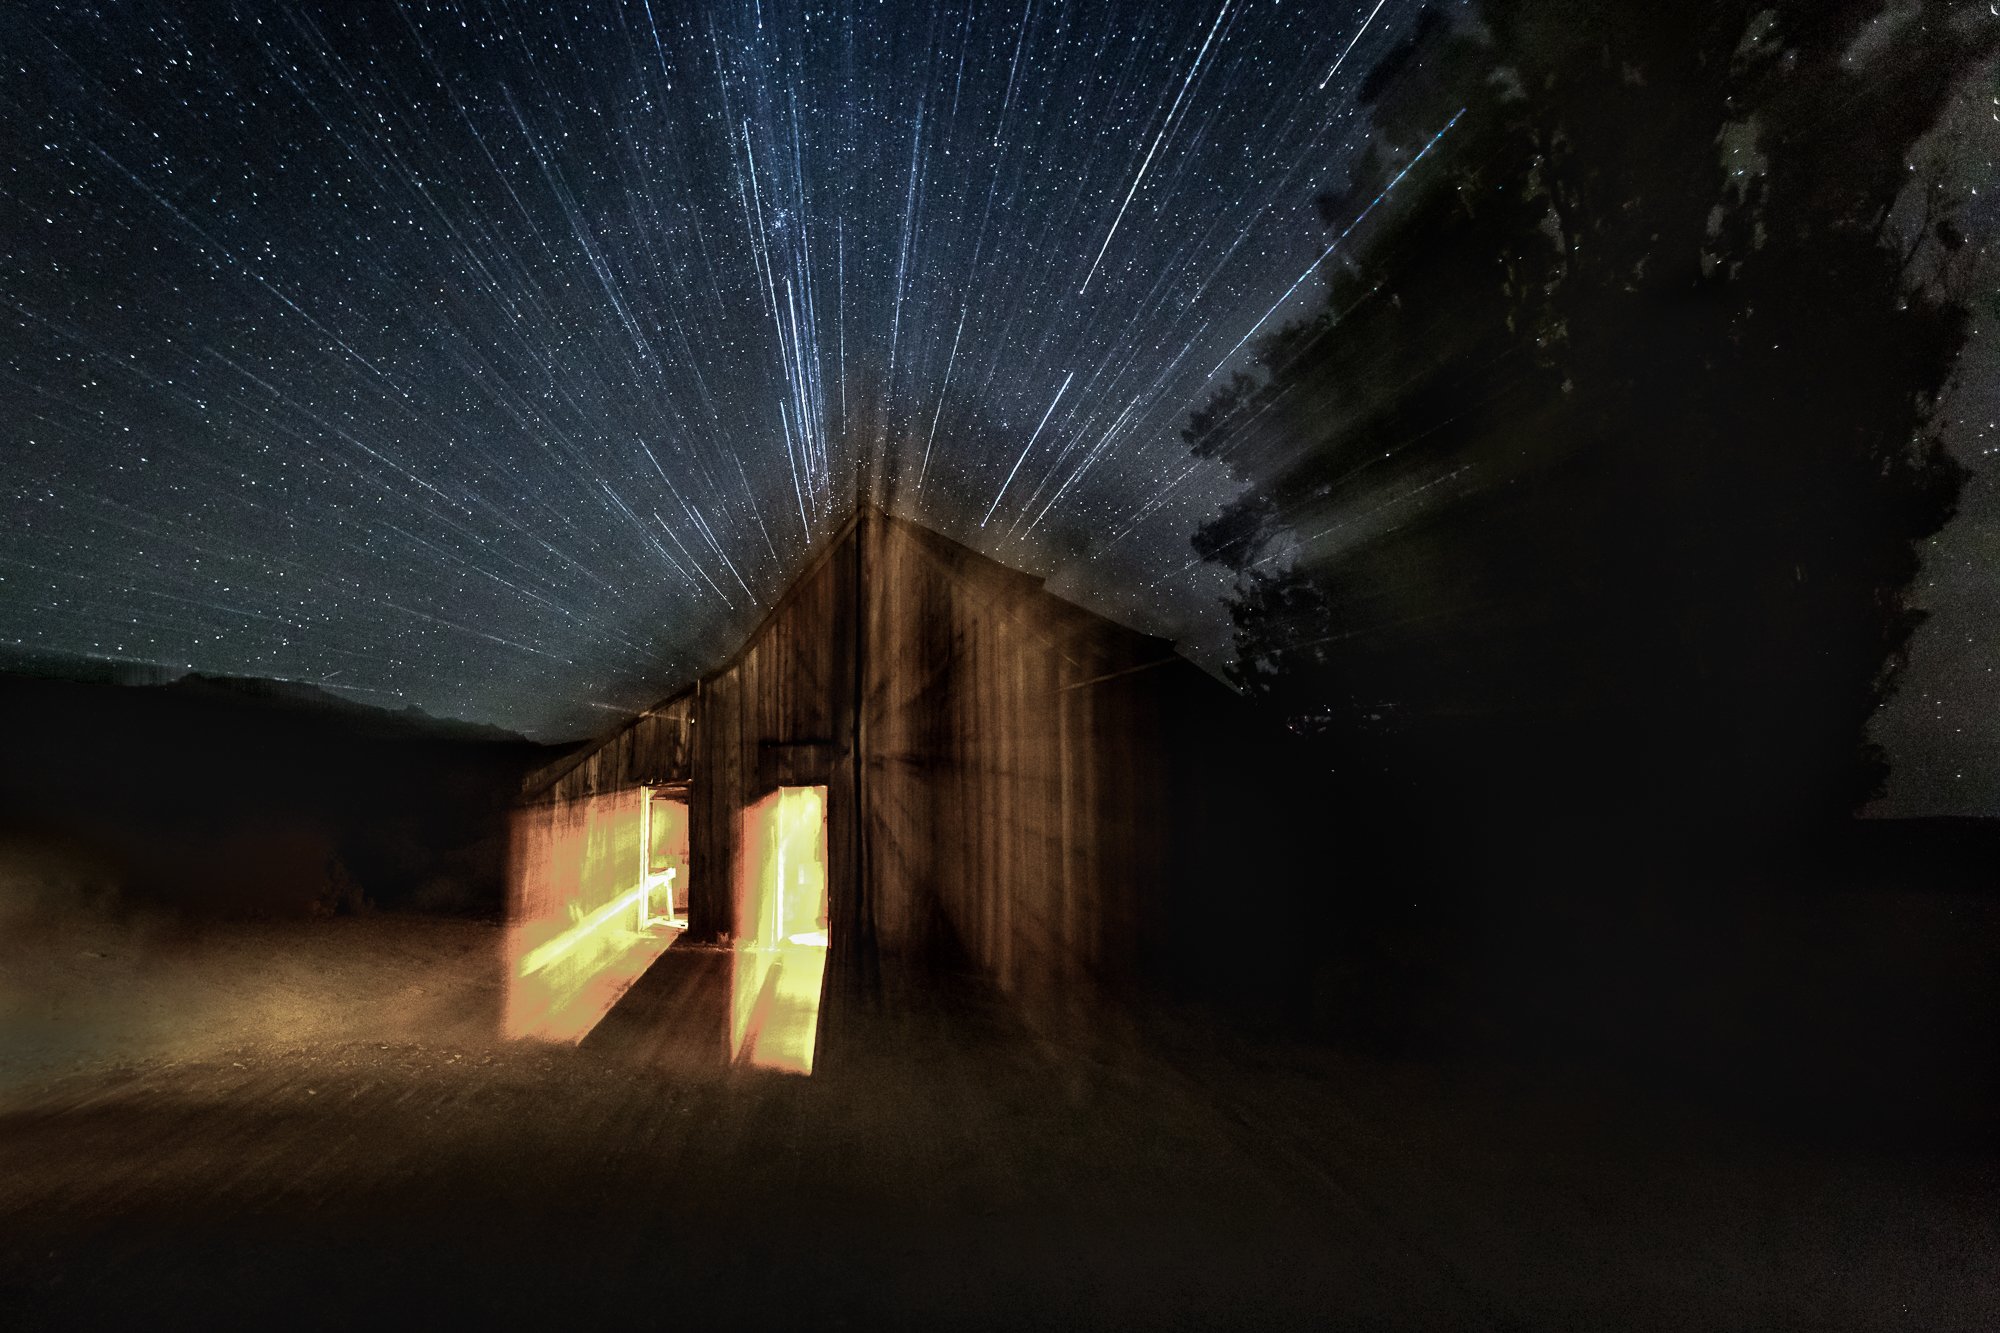
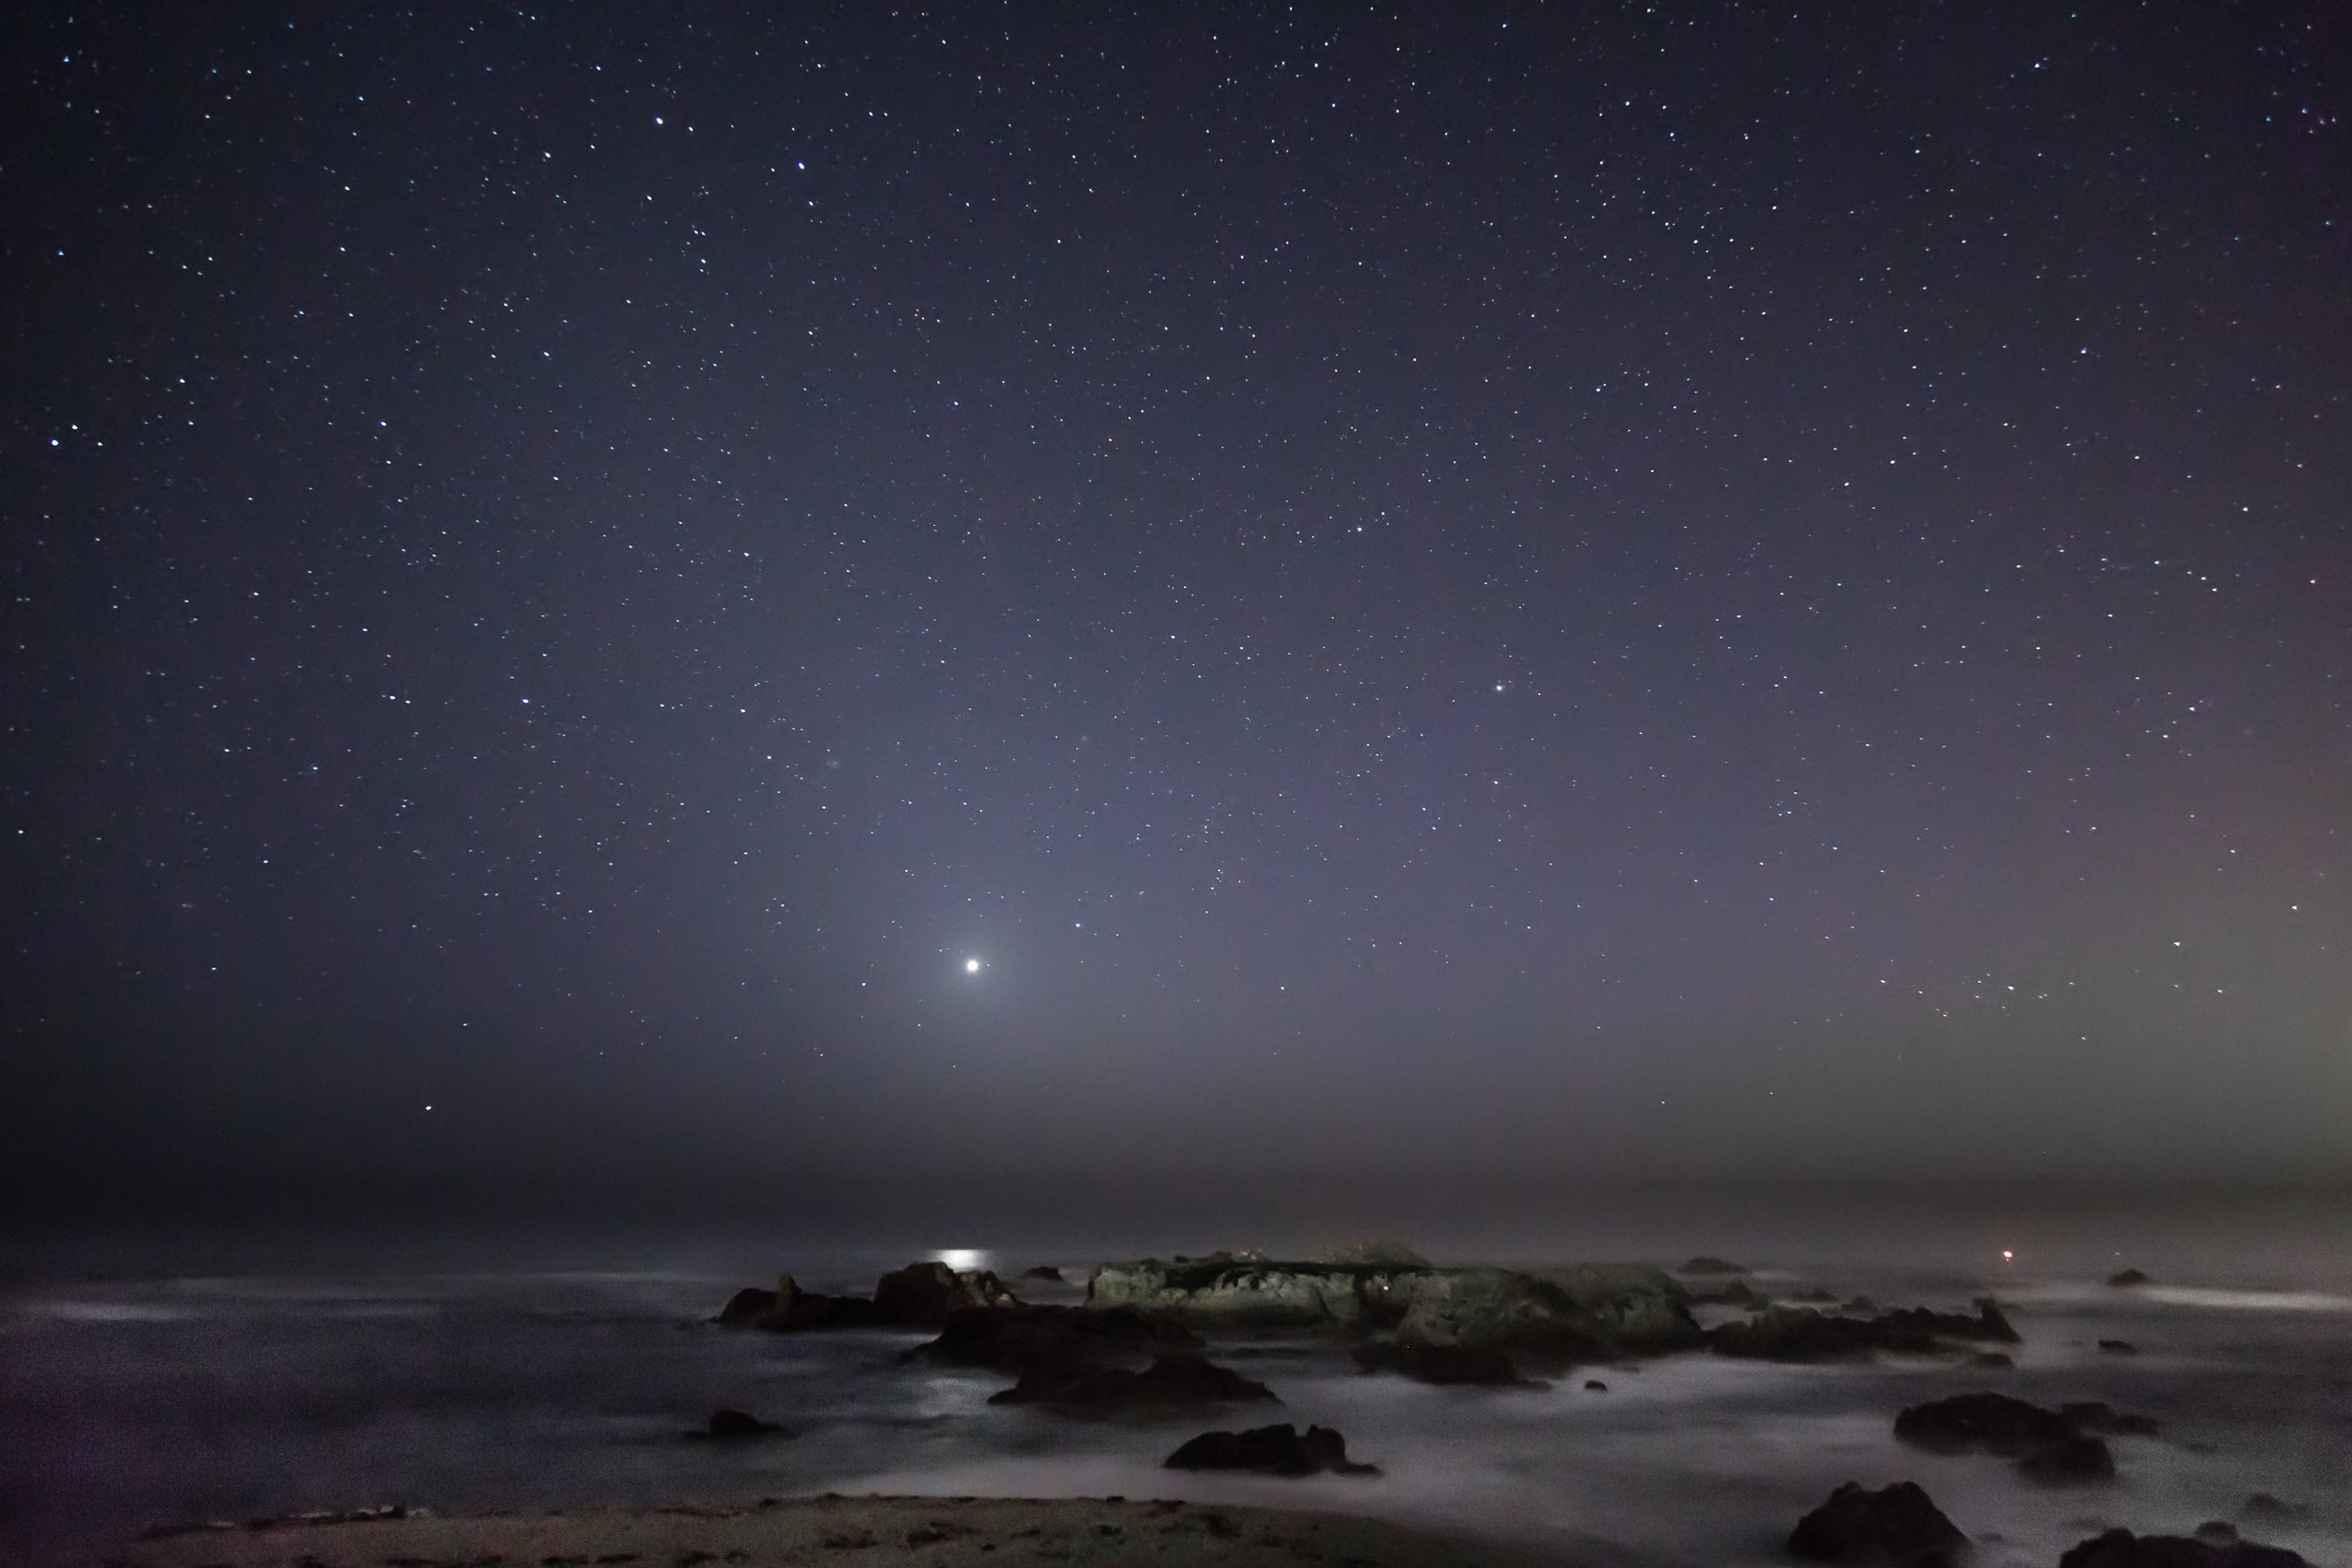
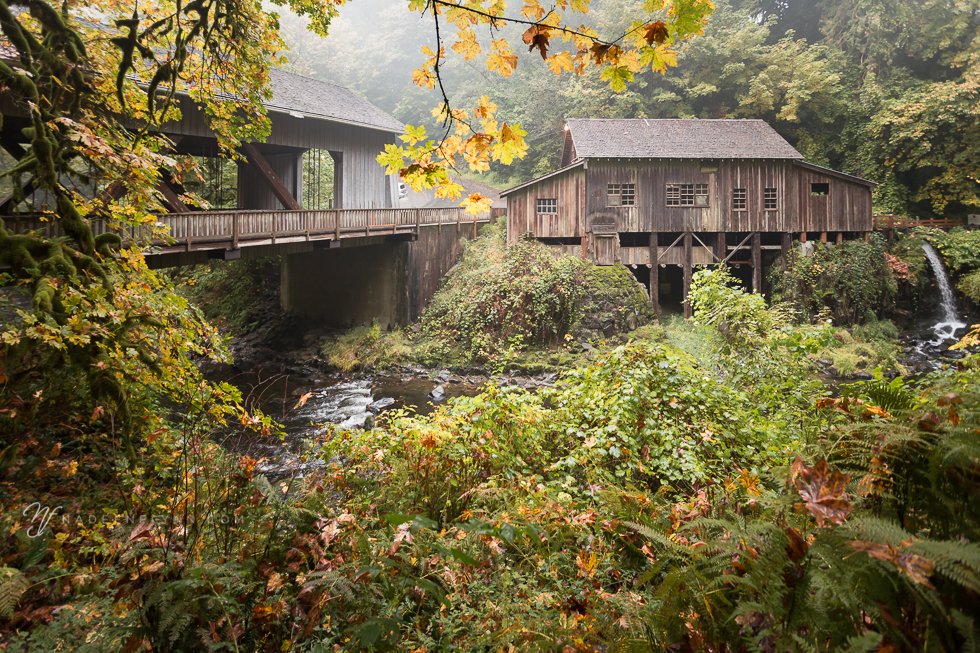
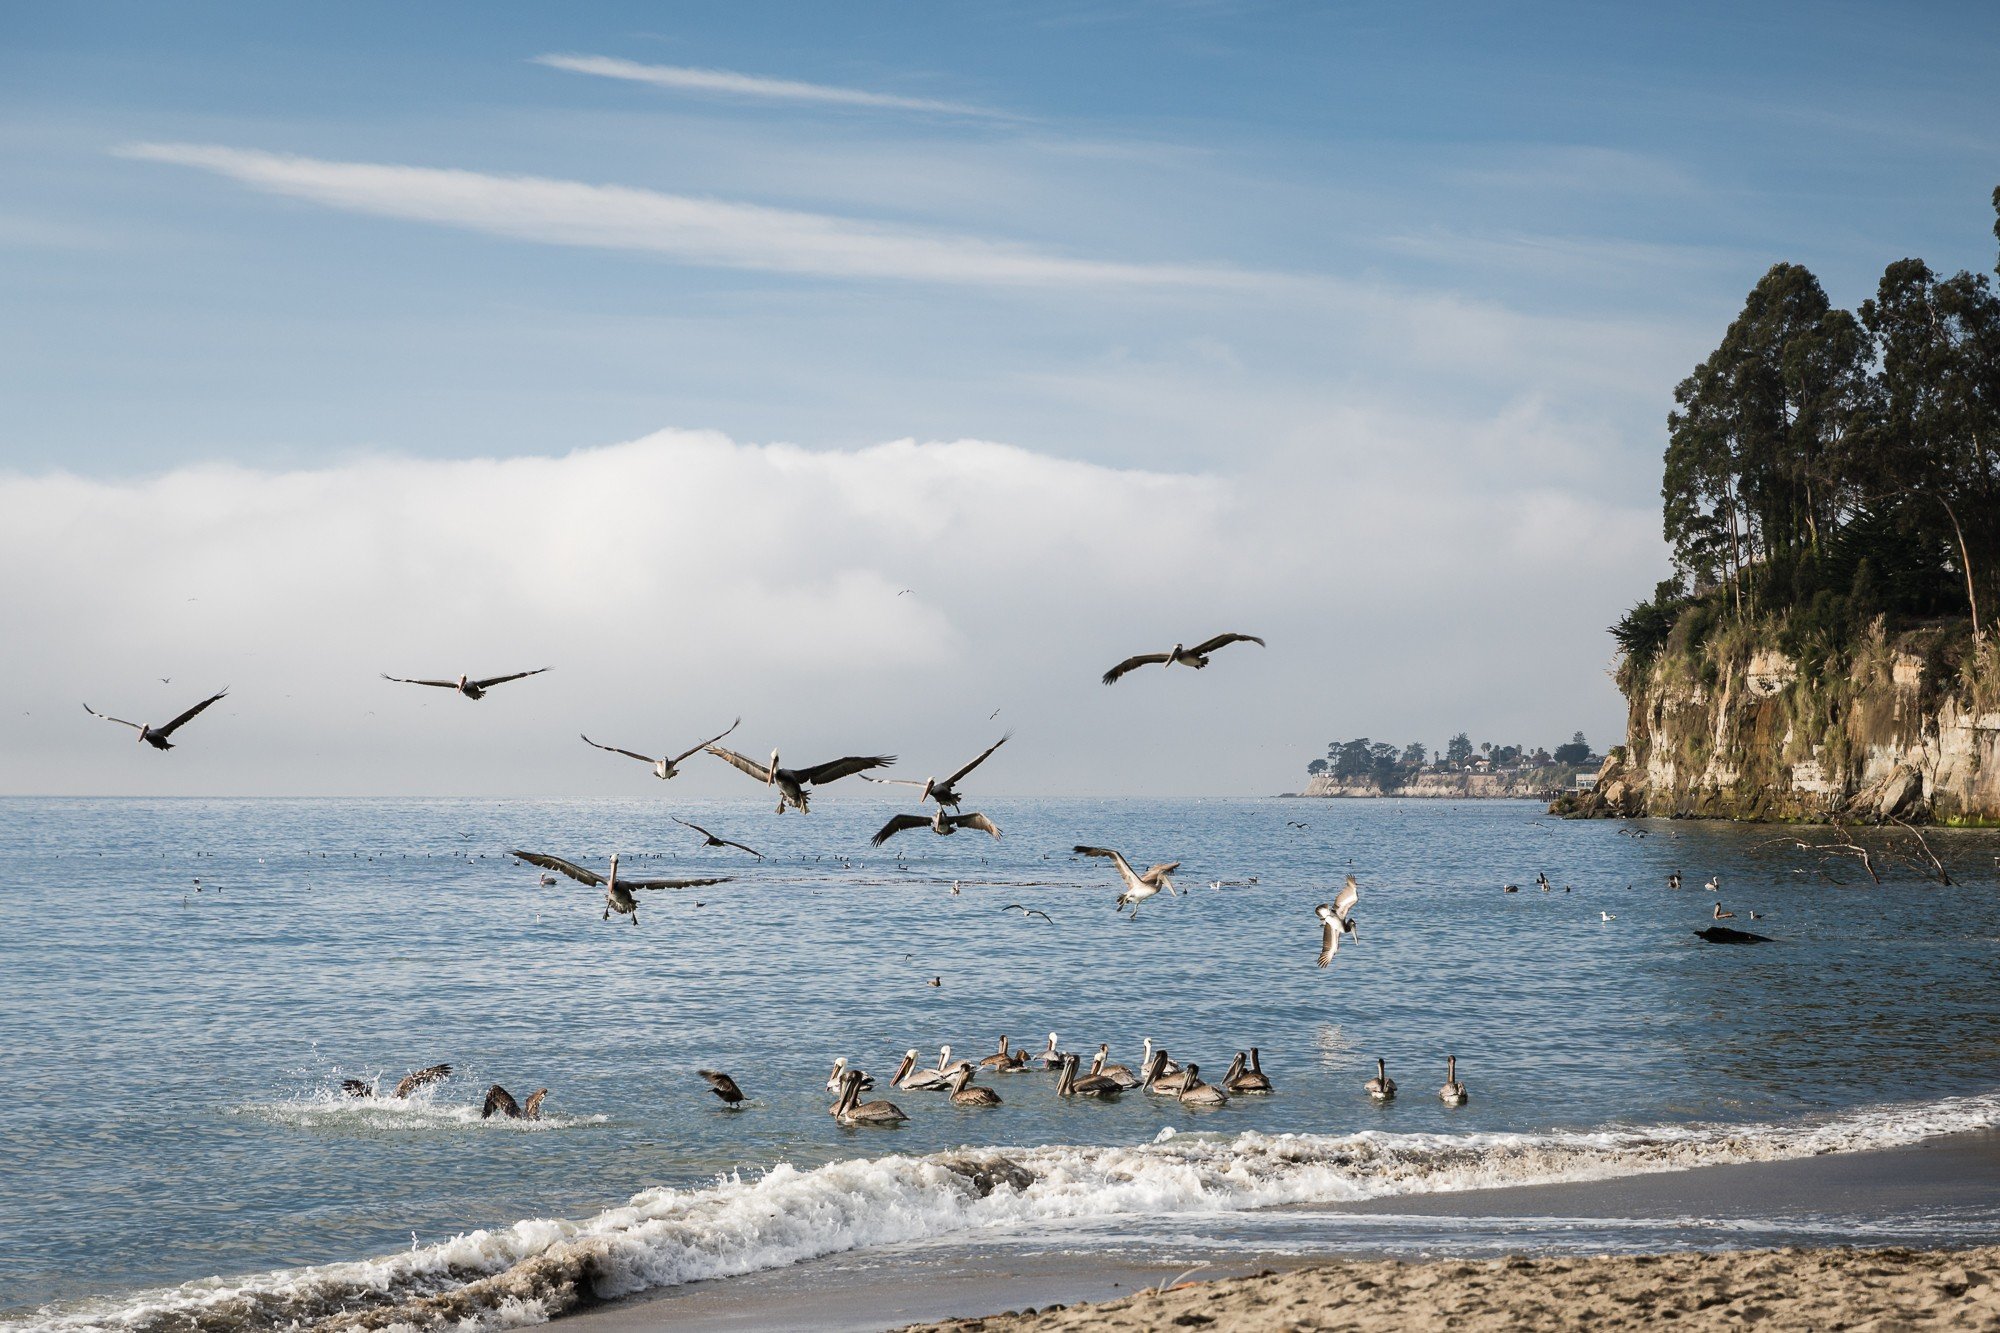
Here are a few more images I took during this trip to the California coast.
“There’s a whole world out there, right outside your window. You’d be a fool to miss it.”
If you give the Calibration Panel a try (and I hope you do!), please let me know your thoughts either here or on my YouTube channel.
* * * * * * *
As a published, featured northern California fine art photographer living in the greater Sacramento area, I specialize in fine art landscape and still life photography. My style is authentic, fresh and personality-driven. I offer several educational opportunities. You can learn about them by going to SERVICES. While currently living in rural northern California with my husband and a couple thousand walnut trees, I post regularly to Instagram.
Please CONTACT ME with any questions or to schedule your learning session.
Serving Yuba City/Marysville, East Nicolaus, Wheatland, Lincoln, Woodland, Davis, Roseville, Rocklin, and the greater Sacramento area.
(530) 633-7575
